

Master’s Research Project
Harnessing the Liver’s Immune System
A 3D animation visualizing liver immunology as it relates to disease and homeostasis
About the Project
This research project aims to use 3D animation to educate a range of audiences about the research developments in liver immunology and the role this plays in homeostasis and parthenogenesis. However, the liver’s role in the immune system and regulated inflammatory response is often poorly understood. Recent research by the MacParland Lab at the University of Toronto, has shed light on the liver’s role in immune response at the single cell level. A dynamic visualization describing general liver functions and the new developments in hepatic immunological research will be a beneficial educational tool in understanding how the liver’s immune system can be harnessed to treat liver disease and metastases.
Supervisors
Prof. Nick Woolridge, MSc, CMI
Dr. Jodi Jenkinson, MScBMC, PhD, FAMI
Content Expert
Dr. Sonya MacParland, PhD
Tools
Autodesk Maya using the Artineering MNPRX renderer, Adobe AfterEffects, Adobe Photoshop, Procreate
Acknowledgements
This project was funded by the University of Toronto, Dept. of Immunology: Masters Research Project Grant
Visualizing Liver Immunology as it Relates to Homeostasis and Pathology (2020).
Process Work
1 Research & Ideation
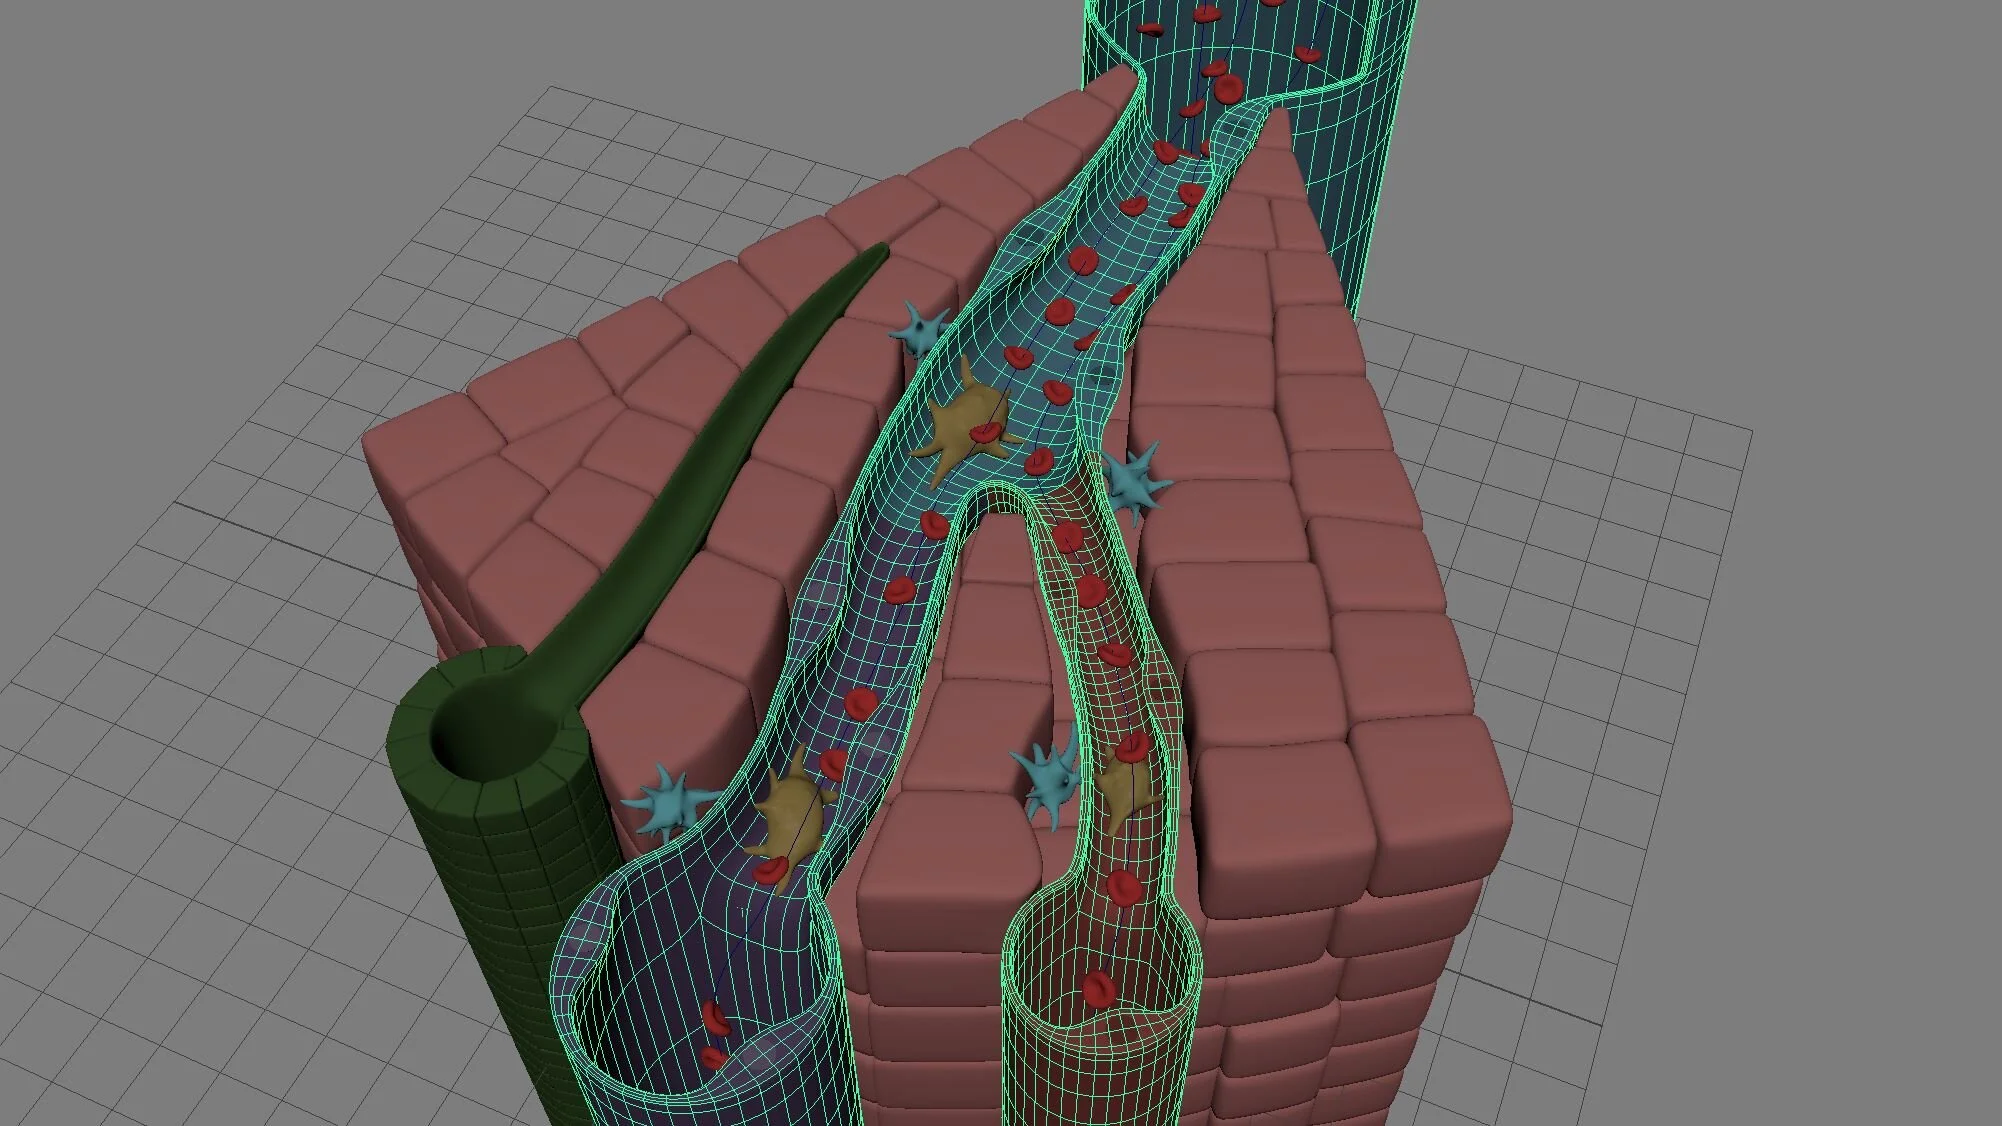
A literature review was conducted to better understand the anatomy of the liver at each level (gross, lobule, cellular), the mechanisms during homeostasis and disease, and the recent research by the MacParland Lab. It was important to understand the relative cell sizes of each cell population, and how they would interact with each other in 3D space. At this stage, a media audit was also conducted to better understand how the liver and it’s cellular components have been previously visualized, what needed to be improved upon, and what had not yet been illustrated/animated.


2 Script & Storyboard
A script was then drafted and went through multiple revisions to make sure the writing is concise and scientifically accurate. A rough storyboard (key frames to match the narration) was created to better understand the color pallet, style, and lock down the main “characters” (different 2D and 3D elements) and their actions. This is one of the most important stages of the animation process since it is often referred to as the animation is created.


3 Animatic
The narration was then recorded, here narrated by Dr. Shelley Wall at the University of Toronto. A rough animatic (based on the storyboard) was created to test the length of the animation, and the pacing of the actions and transitions. This is a good stage to make any major changes to the script, narration, and storyboard.
4 3D Modeling
Using Autodesk Maya, 3D models for each main scene were created: the liver (gross anatomy), lobule sheet, cellular sinusoid level and close up cellular level. It was important to create models with clean and minimal geometry in order to manipulate them for different shots. MASH networks were used to create blood flow (RBC and immune cells), and the particles flowing through the endothelium. Blend shapes were used to animate the movement of cellular appendages.


5 3D Render Style Development
During model development, different rendering styles were tested. The Maya Arnold renderer was tested out as an option.


6 Hand-Drawn 2D Elements
2D hand-drawn elements were created using Procreate’s animation assist feature utilizing rotoscoping, and frame-by-frame animation.


7 Compositing & Final Animation Style
The final render style used the Artineering MNPRX Maya Renderer to achieve a “watercolor” style more similar to my storyboards. This render style complimented the frame by frame hand-drawn animations. The 3D MNPRX renders and 2D hand-drawn elements were composited in Adobe AfterEffects. Other 2D elements such as arrows, glows, and particle effects were also created and composited in AfterEffects.


